
- What Is VICIdial WebRTC Integration?
- Why Contact Centers Are Moving to Browser-Based Calling
- Core Architecture Behind VICIdial WebRTC Integration
- VICIdial WebRTC Integration Tutorial: Step-by-Step Setup
- VICIdial WebRTC Integration Download and GitHub Resources
- Common Issues in VICIdial WebRTC Integration (and How to Fix Them)
- Extending VICIdial WebRTC Integration With Custom Development
- Frequently Asked Questions
- Need VICIdial WebRTC Integration Built for Your Exact Environment?
This guide walks through what VICIdial WebRTC integration actually is. Agents no longer need to sit behind a hardware handset to take a live call. With the right configuration, a VICIdial deployment can hand every agent a fully functional softphone that lives inside the browser tab they already have open – no separate extension box, no desk unit, no extra cabling.
We will explore how the underlying architecture fits together, and the exact configuration steps needed to get browser-based calling working reliably on an Asterisk-powered VICIdial environment.
What Is VICIdial WebRTC Integration?
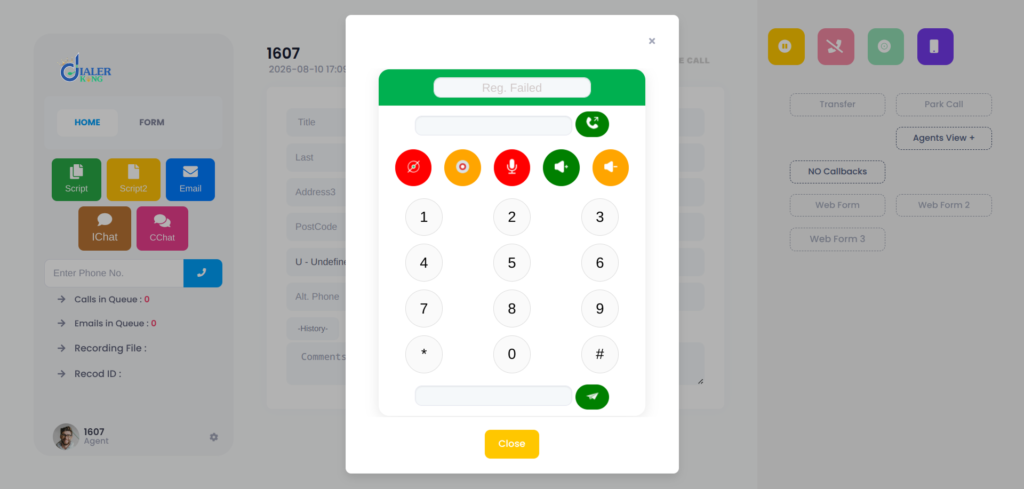
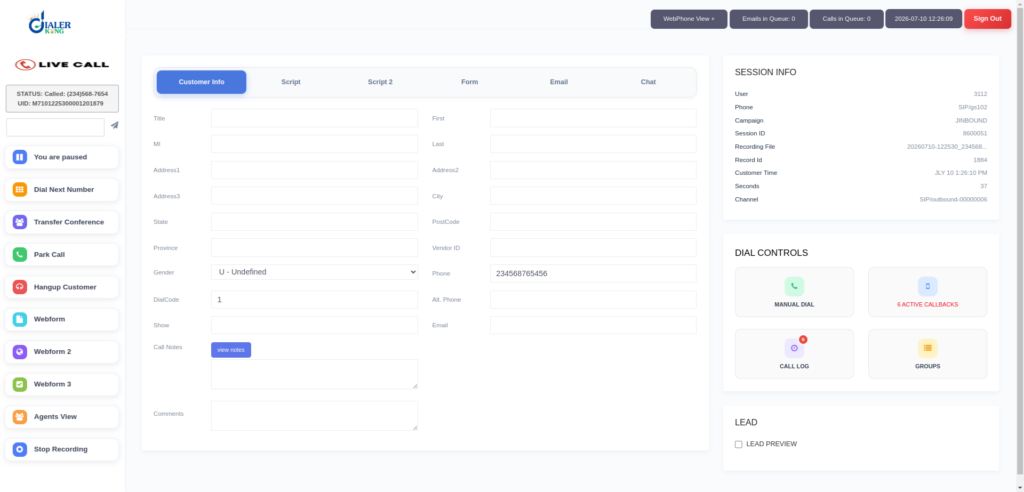
VICIdial WebRTC integration refers to the process of enabling agents to place and receive calls directly from a web browser, using open web communication standards instead of a physical extension or a separate softphone application. Instead of registering a desk phone to an extension, the agent’s browser itself becomes the endpoint – requesting microphone access, negotiating media, and exchanging signaling with the underlying Asterisk engine over a secure connection.
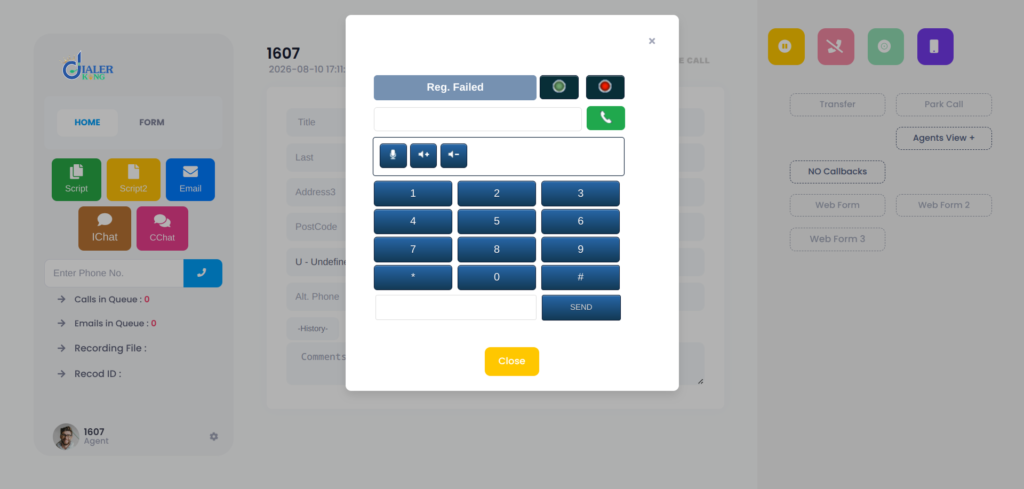
Under the hood, this isn’t a separate product bolted onto VICIdial. It’s a configuration layer built on Asterisk’s PJSIP channel driver, which supports registering endpoints over a secure WebSocket transport in addition to traditional SIP transports. VICIdial’s agent screen (standard or a custom theme) then embeds a browser softphone panel that talks to that PJSIP endpoint, giving the agent dial, answer, hold, and transfer controls without leaving the tab.
Why Contact Centers Are Moving to Browser-Based Calling
The appeal of VICIdial WebRTC integration goes beyond convenience. For growing and distributed teams, it removes several recurring operational headaches:
- Remote agent flexibility – agents can log in and take calls from any location with a stable internet connection, without shipping or provisioning a physical handset.
- Lower hardware dependency – fewer desk phones to purchase, configure, and maintain across a growing agent roster.
- Faster onboarding – a new agent can be dialing within minutes of receiving a login, since there’s no physical device to rack, register, or troubleshoot on-site.
- Unified agent workspace – the dialer screen, disposition panel, and softphone controls all live in one browser window instead of split across a screen and a desk unit.
- Simplified scaling – adding agent seats becomes a licensing and configuration task rather than a hardware procurement task.
Core Architecture Behind VICIdial WebRTC Integration
Before touching configuration files, it helps to understand the moving parts. A working VICIdial WebRTC integration is really five components working together:
| Component | Role in the Integration |
|---|---|
| PJSIP (Asterisk) | Handles SIP signaling and registration for the browser endpoint, replacing the older chan_sip driver for WebRTC use cases. |
| Secure WebSocket (wss://) | Carries SIP signaling between the browser and Asterisk. Browsers require an encrypted connection before they will allow microphone access. |
| SSL/TLS Certificate | A valid certificate on the domain is mandatory – without it, the browser blocks the WebSocket handshake and microphone permission entirely. |
| STUN/TURN Server | Resolves Network Address Translation so that audio can reach agents sitting behind routers, firewalls, or restrictive networks. |
| Browser Softphone Panel | The interface layer embedded in the VICIdial or custom agent screen that renders dial pad, call controls, and registration status. |
The signaling path and the media path are handled separately. Signaling (call setup, hold, transfer instructions) travels over the encrypted WebSocket connection to PJSIP. Media (the actual audio) is negotiated separately, encrypted using DTLS-SRTP, and typically needs codec support for Opus alongside the standard ulaw/alaw codecs already used elsewhere in the dialer.
Prerequisites Before You Begin
A stable VICIdial WebRTC integration depends heavily on getting the server environment right from the start. Before any PJSIP configuration work begins, confirm the following:
- An AlmaLinux server, provisioned from the client side, with a dedicated IP address.
- A valid SSL certificate mapped to the domain or subdomain the agent screen will be served from.
- A working VICIdial and Asterisk installation with administrative access to both the admin panel and the underlying configuration files.
- Open ports for WebSocket signaling and the full RTP media range, cleared through any upstream firewall or security group.
- Confirmation of the ViciBox build version and the VICIdial codebase (SVN) revision in use, since PJSIP and WebRTC support differ across versions.
On the hardware side, sizing depends on concurrent agent volume and expected call concentration. Suitable Intel and AMD configurations are both viable – hardware is generally recommended after reviewing expected seat count and campaign volume, with installation and configuration support provided as part of setup.
VICIdial WebRTC Integration Tutorial: Step-by-Step Setup
This is the practical sequence used to bring browser-based calling online in a standard VICIdial and Asterisk environment. Steps are presented in order – skipping ahead (particularly the certificate and transport steps) is the most common cause of a failed registration later.
Step 1: Confirm PJSIP and WebSocket Modules Are Loaded
Start by verifying that Asterisk has the required modules active. From the Asterisk console:
asterisk -rx "module show like res_pjsip_transport_websocket"
asterisk -rx "http show status"The built-in HTTP server needs to be enabled, since the WebSocket transport for WebRTC signaling rides on top of it. If it shows as disabled, this is addressed in the next step.
Step 2: Enable the Built-In HTTP and WebSocket Listener
In http.conf, enable the listener and point it to a valid certificate and key so the connection can be served as wss:// rather than plain ws://:
[general]
enabled=yes
bindaddr=0.0.0.0
bindport=8088
tlsenable=yes
tlsbindaddr=0.0.0.0:8089
tlscertfile=/etc/pki/tls/certs/your_domain.crt
tlsprivatekey=/etc/pki/tls/private/your_domain.key
Step 3: Create a Secure WebSocket Transport in PJSIP
In pjsip.conf (or a dedicated included file), define the transport agents will register through:
[transport-wss]
type=transport
protocol=wss
bind=0.0.0.0Step 4: Create a WebRTC-Ready PJSIP Endpoint
Each agent extension intended for browser calling needs an endpoint configured for encrypted media and ICE negotiation, not a standard hardware-phone profile:
[6001]
type=endpoint
context=agent-webrtc
disallow=all
allow=opus,ulaw,alaw
webrtc=yes
dtls_auto_generate_cert=yes
media_encryption=dtls
ice_support=yes
use_avpf=yes
rtcp_mux=yes
transport=transport-wssThe matching [6001] aor and auth sections follow the same pattern used for any other PJSIP endpoint, with max_contacts set to 1 for a single browser session per agent.
Step 5: Configure STUN/TURN for NAT Traversal
Agents connecting from outside the local network will need a STUN address at minimum, and a dedicated TURN server if they sit behind symmetric NAT or restrictive corporate firewalls. This is typically set in rtp.conf or referenced directly in the endpoint configuration.
stunaddr=stun.your-domain.com:3478Step 6: Add the Softphone Panel to the Agent Interface
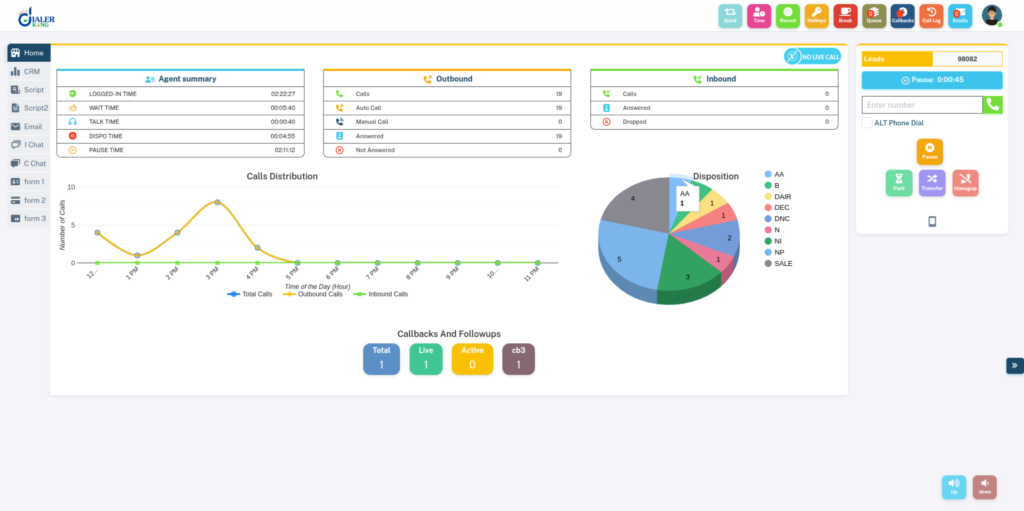
With the Asterisk side ready, the agent screen needs a browser softphone panel wired to that PJSIP endpoint – mapping the VICIdial phone_login to the corresponding extension. On a standard installation this lives inside vicidial.php; on a custom theme deployment it is typically served from a path such as /agent/agent.php or a client-specified equivalent, with the underlying authentication mechanism unchanged.
Step 7: Test Registration and Call Flow
Log in as the test agent and confirm registration status directly from Asterisk:
asterisk -rx "pjsip show endpoint 6001"A healthy endpoint should show as registered with an active contact. From there, place an inbound test call and an outbound test call, confirming two-way audio, hold, and transfer all behave correctly before rolling the configuration out to the wider agent group.
VICIdial WebRTC Integration Download and GitHub Resources
It’s worth addressing this directly, since it’s one of the most common questions teams ask when researching this topic: there is no single universal VICIdial WebRTC integration download or GitHub package that installs cleanly across every environment. This isn’t a limitation – it’s a function of how varied VICIdial deployments actually are.
Every environment differs by ViciBox build version, VICIdial codebase (SVN) revision, existing dialplan customizations, and whatever theme or agent-screen modifications have already been applied. A generic script pulled from a public repository is written against one specific combination of those variables.
Running it against a different version can silently break existing dialplan logic, override working PJSIP transports, or leave the agent screen in a partially configured state that’s harder to diagnose than starting clean.
The more reliable approach – and the one used across DialerKing’s WebRTC development work – starts with confirming the exact ViciBox version and SVN revision currently in use, then building the PJSIP and agent-screen configuration specifically against that environment. Once development is complete, teams can receive the source code and installation steps directly, or provide server access for full installation and configuration to be handled end-to-end.
Common Issues in VICIdial WebRTC Integration (and How to Fix Them)
No Audio or One-Way Audio
Almost always a NAT traversal problem. Confirm the STUN or TURN address is reachable, and that the full RTP media port range is open on any firewall sitting in front of the server – not just the WebSocket signaling port.
Registration Fails From the Browser
Check the certificate first. Browsers silently block microphone access and WebSocket registration on any connection that isn’t served over a valid wss:// with a trusted certificate – a self-signed or expired certificate is the single most common cause of a stuck registration.
Softphone Panel Doesn’t Load in the Agent Screen
Usually a browser permissions issue rather than a server-side one. Confirm the page itself is served over HTTPS (not just the WebSocket endpoint), since browsers won’t grant microphone access to a page loaded over plain HTTP even if the underlying signaling connection is secure.
Calls Register but Drop After a Few Seconds
This points to a DTLS-SRTP negotiation mismatch between the browser and the PJSIP endpoint. Double-check media_encryption, ice_support, and rtcp_mux are all set on the endpoint, and that the certificate used for DTLS is valid and not expired.
Agent Status Looks Out of Sync With Live Calls
If call events aren’t reflecting correctly on supervisor or reporting screens, confirm the underlying database service is actually running before assuming it’s a WebRTC issue:
systemctl status mariadb
systemctl start mariadbExtending VICIdial WebRTC Integration With Custom Development
A working browser softphone is often just the starting point. Teams running larger agent groups typically extend the base VICIdial WebRTC integration with additional development work, including:
- Custom agent browser phones built into a modern React and Tailwind CSS interface, replacing the default agent screen entirely.
- Video calling and secure voice communication layered on top of the existing WebRTC transport for teams that need it.
- Remote agent environments configured specifically for distributed or work-from-anywhere teams, including mobile-compatible browser calling.
- Click-to-call and screen-popup functionality tied to an external CRM system, synchronized through a dedicated lead and campaign API layer alongside the browser calling session.
- Supervisor dashboards showing live agent and call status pulled directly from Asterisk Manager Interface events, updated in real time alongside the browser calling panel.
Because the browser softphone, the campaign logic, and any connected CRM system all need to stay in sync, this is usually where a structured API layer becomes valuable – giving external systems a consistent way to pull lead status, campaign statistics, and live call data without requiring administrator access to the graphical interface itself.
Frequently Asked Questions
Is there an official VICIdial WebRTC integration GitHub repository❓
There’s no single universal repository that works across every deployment. PJSIP and WebRTC configuration needs to match the specific ViciBox build and VICIdial codebase revision in use, so integrations are typically built or adapted for the exact environment rather than pulled from a generic public script.
What server requirements are needed for VICIdial WebRTC integration❓
At minimum: an AlmaLinux server with a dedicated IP, a valid SSL certificate for the domain, and open ports for both WebSocket signaling and the full RTP media range. Hardware sizing depends on expected concurrent agent volume.
Can remote agents use VICIdial through a browser without a desk phone❓
Yes. Once the PJSIP endpoint and softphone panel are configured, agents can log in and take calls from any location with a supported browser and stable internet access, which is one of the main reasons teams adopt browser-based calling.
How long does a VICIdial WebRTC integration setup typically take❓
Timelines depend on the current server environment and how many customizations are already in place. A clean, standard installation can be configured relatively quickly, while environments with existing theme or dialplan customizations require a review of the current ViciBox and SVN version before development begins.
Need VICIdial WebRTC Integration Built for Your Exact Environment?
DialerKing reviews your ViciBox build and SVN version, then develops and installs a browser-calling configuration matched to your setup – with source code handover or full remote installation available.
It’s the configuration that lets agents place and receive calls directly from a browser tab, using Asterisk’s PJSIP channel driver over a secure WebSocket connection instead of a physical extension or separate softphone application. Connect with our Engineering Team to get started.